VedaPulse Professional installation manual for Mac
It is required to follow the steps in this manual for correct operation of the software on Mac. It is required to have an active Internet connection to install and use the certain features of the software. In addition, to run the VedaPulse software on the Apple computer, you need to install Parallels - a virtual machine that simulates the Windows OS.
Install Parallels on your computer and run it. Install the Windows software (version 7) and newer. Activate Parallels window by clicking on the desktop area or Windows icons.


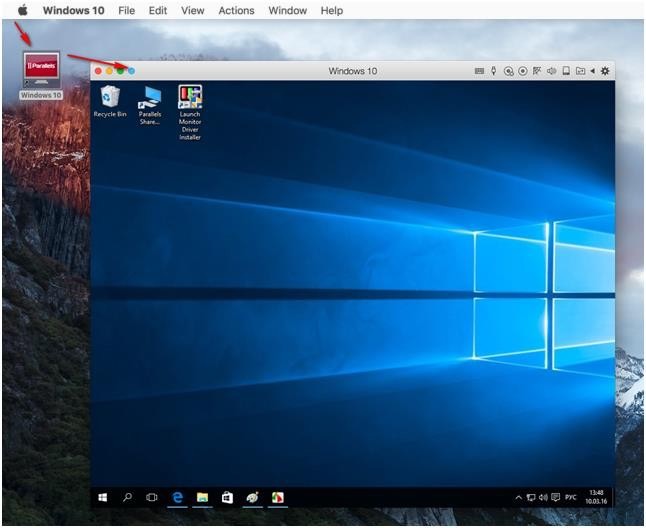
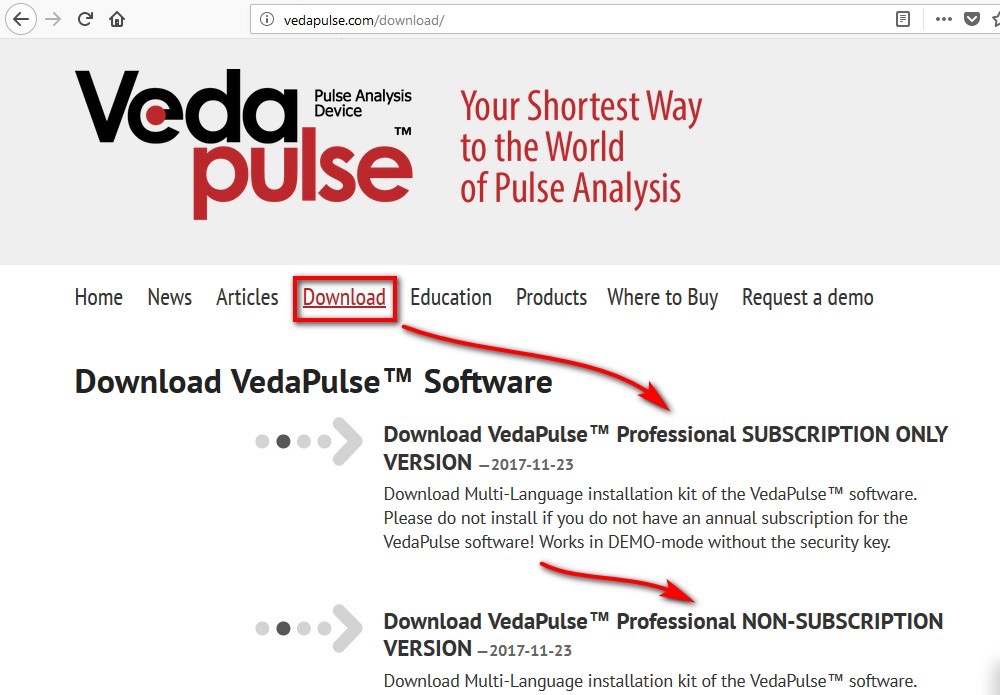
Open the browser in the Parallels window. Go to the Download section at https://vedapulse.com/download/.

Download one of the setup files according to the software version you purchased: VedaPulse Professional SUBSCRIPTION ONLY VERSION (if you have annual subscription) or VedaPulse Professional NON-SUBSCRIPTION VERSION (no annual subscription).
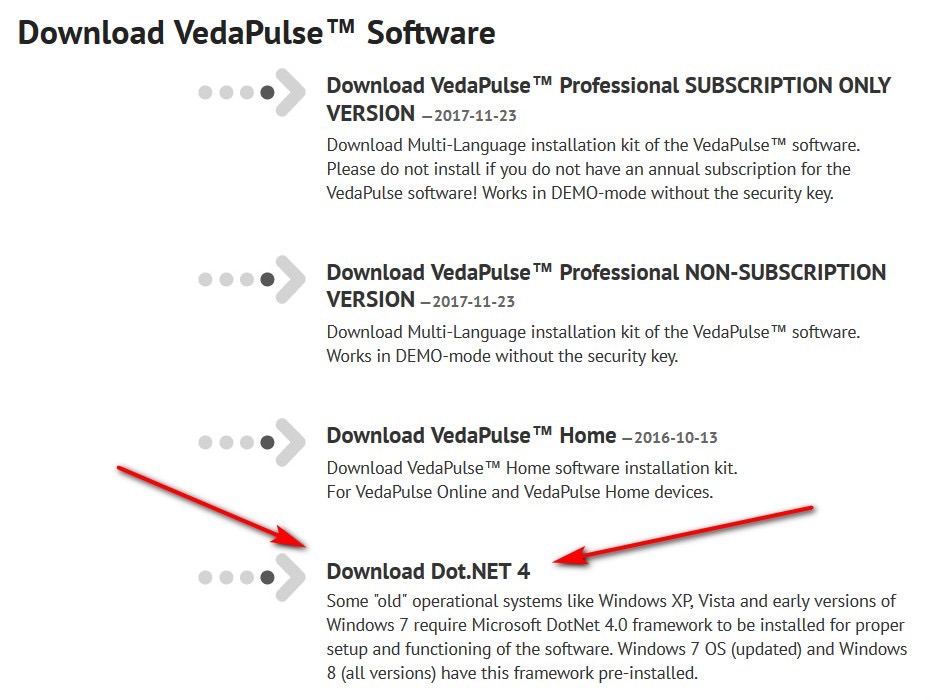
Some "old" operational systems like Windows XP, Vista and early versions of Windows 7 require Microsoft DotNet 4.0 framework to be installed for proper setup and functioning of the software. Windows 7 OS (updated) and Windows 8 (all versions) have this framework pre-installed.
Wait until the device driver is installed. The system will open the window and notify you about the steps of installation.
Insert the USB security key.

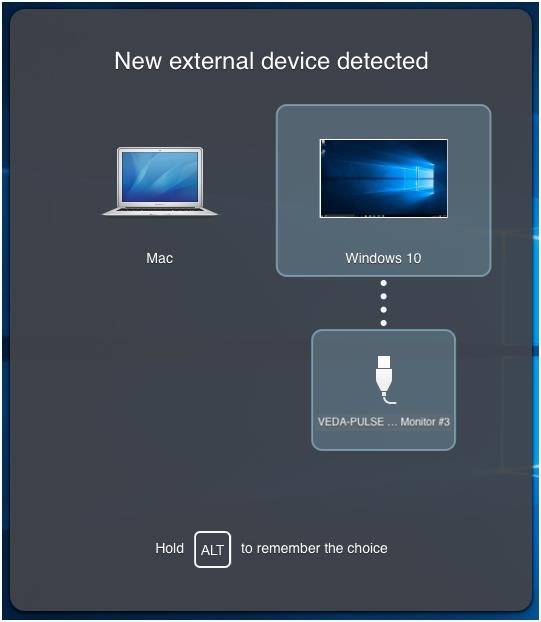
The window will pop up on the screen. Select “Connect to Windows” by holding the ALT key.
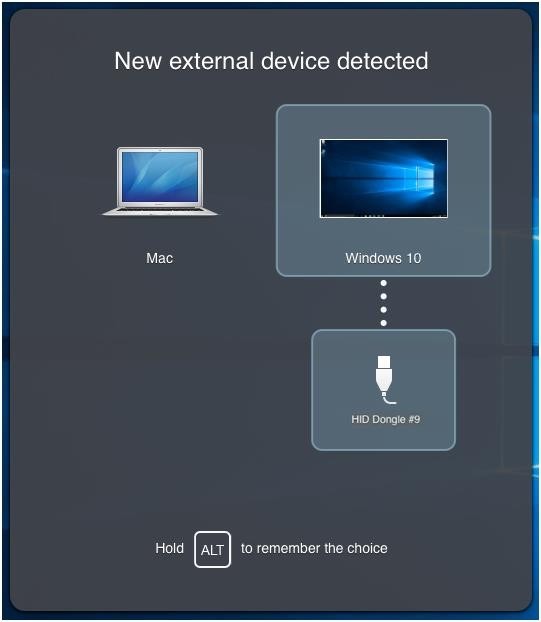
Open “Devices” - “External Devices” and put a tick by choosing the line “HID Dongle”.


Now, connect the VedaPulse device to the computer’s USB port. When the device is connected, you will see the same window. Choose Windows to connect the device to it by holding the ALT key to remember the choice.
Open “Devices” - “External Devices” and put a tick by choosing the line “VEDAPULSE Heart Rate Monitor”.

Run the VedaPulse software.
After all devices are successfully connected and activated in a virtual machine, run the VedaPulse program and activate the key.